Little Scientists and the Scientific Method
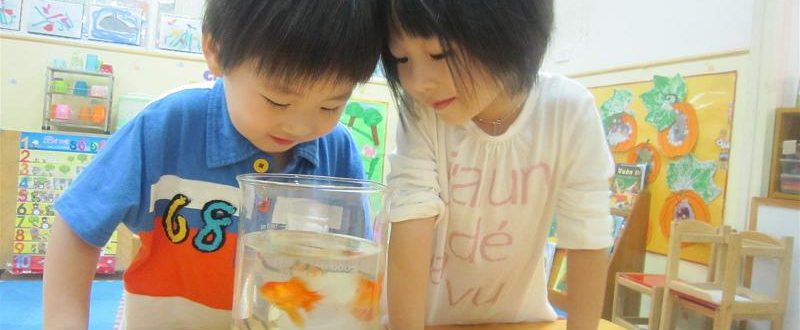
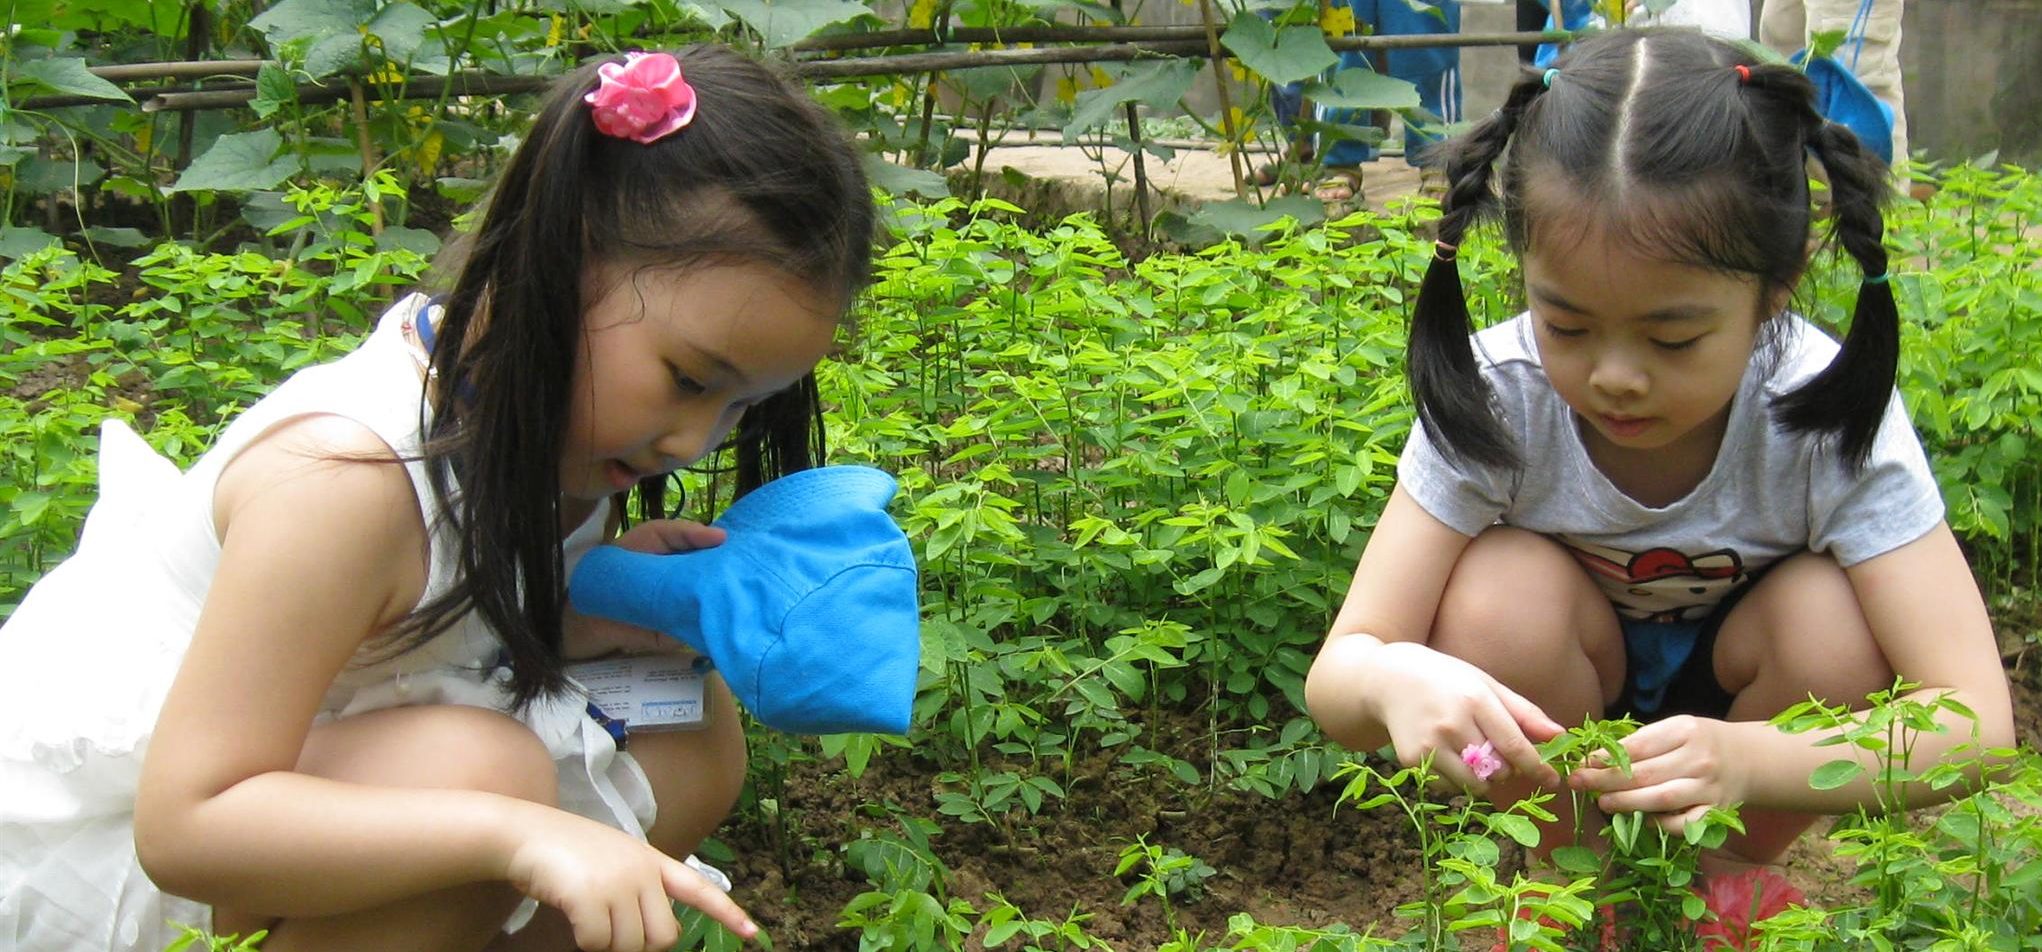
Science experiments are fun for both children (and their teachers). When I taught the kindergarten age group at an international kindergarten I used to do science experiments on a regular basis. Throughout the year we did all kinds of interesting experiments, from things like observing how long it took for different kind of vegetable seeds to sprout to testing whether or not air takes up space. My kids and I always looked forward to what we were going to do next. In doing an experiment I always tried my best to follow the Scientific Method.
Using the Scientific Method with young children can be a little tricky. The key to success is choosing experiments that are fun and interesting for the children. Also, I had to be flexible in how I used the Method with the age group I worked with.
For those of you who may not be familiar with or have forgotten what the Scientific Method of inquiry is, let me give you a brief summary. The Scientific Method includes:
- Making an observation (This water is muddy.)
- Coming up with a question of interest based on the observation (How can we make this water clear?)
- Developing a hypothesis or prediction to go along with the question (I think if we pour the water through sand the water will become clear).
- Experimenting and testing the prediction (Pour the muddy water through sand.)
- Gathering and recording results of tests and experiments and drawing conclusions (take photos, draw pictures, compare, make observations.)
- Sharing and discussing results (Do a “write up” on the experiment to share discoveries that were made about filtering muddy water.)
Kindergarten teachers use the principles of the Scientific Method in a way that makes sense for the age level and abilities of their kids. In my class I was able to cover most steps pretty well just by talking with my kids about what they thought would happen, what was happening, and what actually happened compared to what they thought would happen. No writing was required. The children drew pictures of the experiment and they dictated to me what they wanted to say and I wrote it down for them.
When I visited Ba Trieu last week I found out the children had done an awesome science experiment the day before on water filtration. I was so sorry that I had missed it. When I heard Kinder Blue at Van Bao was planning a Science experiment I decided that I would not miss this opportunity to join in. They also followed the Scientific Method.
STEP 1: Make Observations About Life and the Environment Around Us
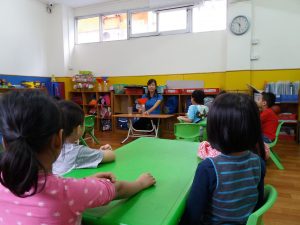
There are tons of everyday activities that make cool science experiments using scientific method. When the children look into an “empty” container and say that nothing is in it, is that really true? Ms. Thu took up this topic and used it for an experiment. She asked the children, “ Is there anything in this container?” A lively discussion then took place about if there was anything in it, or not.
STEP 2: Come Up With A Question
With the children’s observations along with a little help from the Ms. Thu, a question was formulated: “Does air fill up space?”
STEP 3: Develop a Hypothesis or Prediction
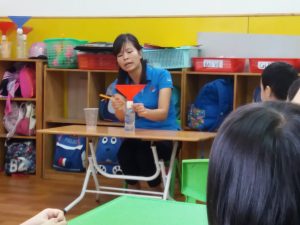
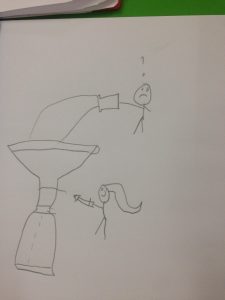
She then took the children into another room where she had prepared some materials to conduct an experiment with the children? She had taken a bottle. Put a funnel into it. Then put an airtight seal around the mouth of the bottle and the funnel so that air could not escape. She asked, “What will happen if we pour water into this funnel that goes into this ‘empty’ bottle?” The children had a chance to discuss what might happen to the water. Most predicted that the water would flow into the bottle when poured into the funnel. To their surprise the water didn’t go down, but remained in the funnel. Another question was asked, “How can we get the water to flow into the bottle?” One child said, “The bottle is full of air. If I drill a hole, the air will go out and the air will pour down into the bottle.” Another said, “I don’t need to make a hole. I can squeeze the bottle and the water will go down quickly.” Someone else said, “The water won’t be able to go down because of the claydough around the mouth of the bottle.”
STEP 4: Conduct An Experiment
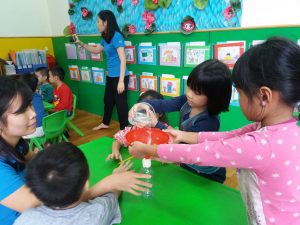
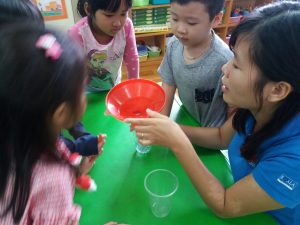
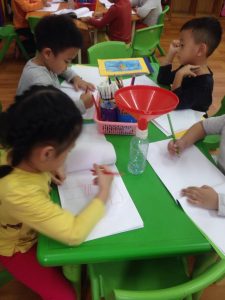
After many predictions were made. The children worked in small groups to conduct the experiment and find out more about their predictions. They tested to see if their predictions were correct. They set up the experiment with the materials given to them. Each group had the same equipment to make sure that the variables were the same.
STEP 5: Record Results and Draw Conclusions
The children discovered that when they used a pencil to break the airtight seal around the opening of the bottle the air that was filling the space in the bottle had a chance to leak out, thus allowing the water to fill that space. One child explained, “When I poured water into the funnel, it couldn’t go down into the bottle because air was filling the space, but when we put the hole in the claydough the air could come out and the water could go in.”
STEP 6: Share Results
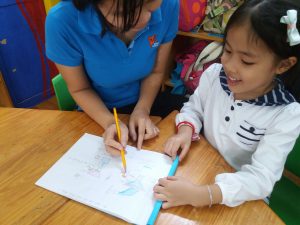
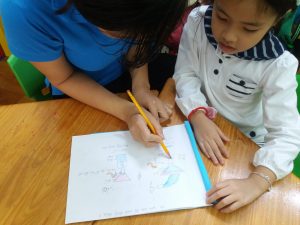
After all the talk about what happened the children then did a “write-up” on it. They drew pictures of what they did and dictated to their teachers what they wanted to say about the experiment. The teachers then wrote it down. In doing this they had a chance to talk about their predictions, the experiment, what happened, and what they found out.
I’m hoping that as our “little” scientists use the Scientific Method to do fun science experiments they will develop a love of science as they grow older.

Darren Czeczuga
Educational Consultant
